Altenew July 2023 Challenge

I was so excited by the Altenew July 2023 challenge because it featured the hydrangea color palette of blues and purples (which I love, in case that surprises anyone lol).
I’ve been creating cards in bits and pieces as my full time job has taken up a lot of time and energy, but I’ve been trying to dedicate at least 30 minutes a day to making cards and it’s so satisfying watching projects come to life! I’m sure many of you understand being in a creative slump/lack of time. Which is sad because it provides me a lot of peace and joy, so I’m doing my best to prioritize it more.
I actually struggled with making my card align with my vision/rough sketch for the card. I wanted a lot of layers and dimension but none of my original ideas seemed to be creating the effect I wanted. After a lot of die cutting and layering, I realized I wanted to try my new 3D embossing folder from Altenew. That ended up being the background dimension I was looking for, along with the layered die cutting, layered stamping, and ink blending and finally created the cohesive look I was going for (previous versions did not look cohesive to me lol).
To make this card, I did the following:
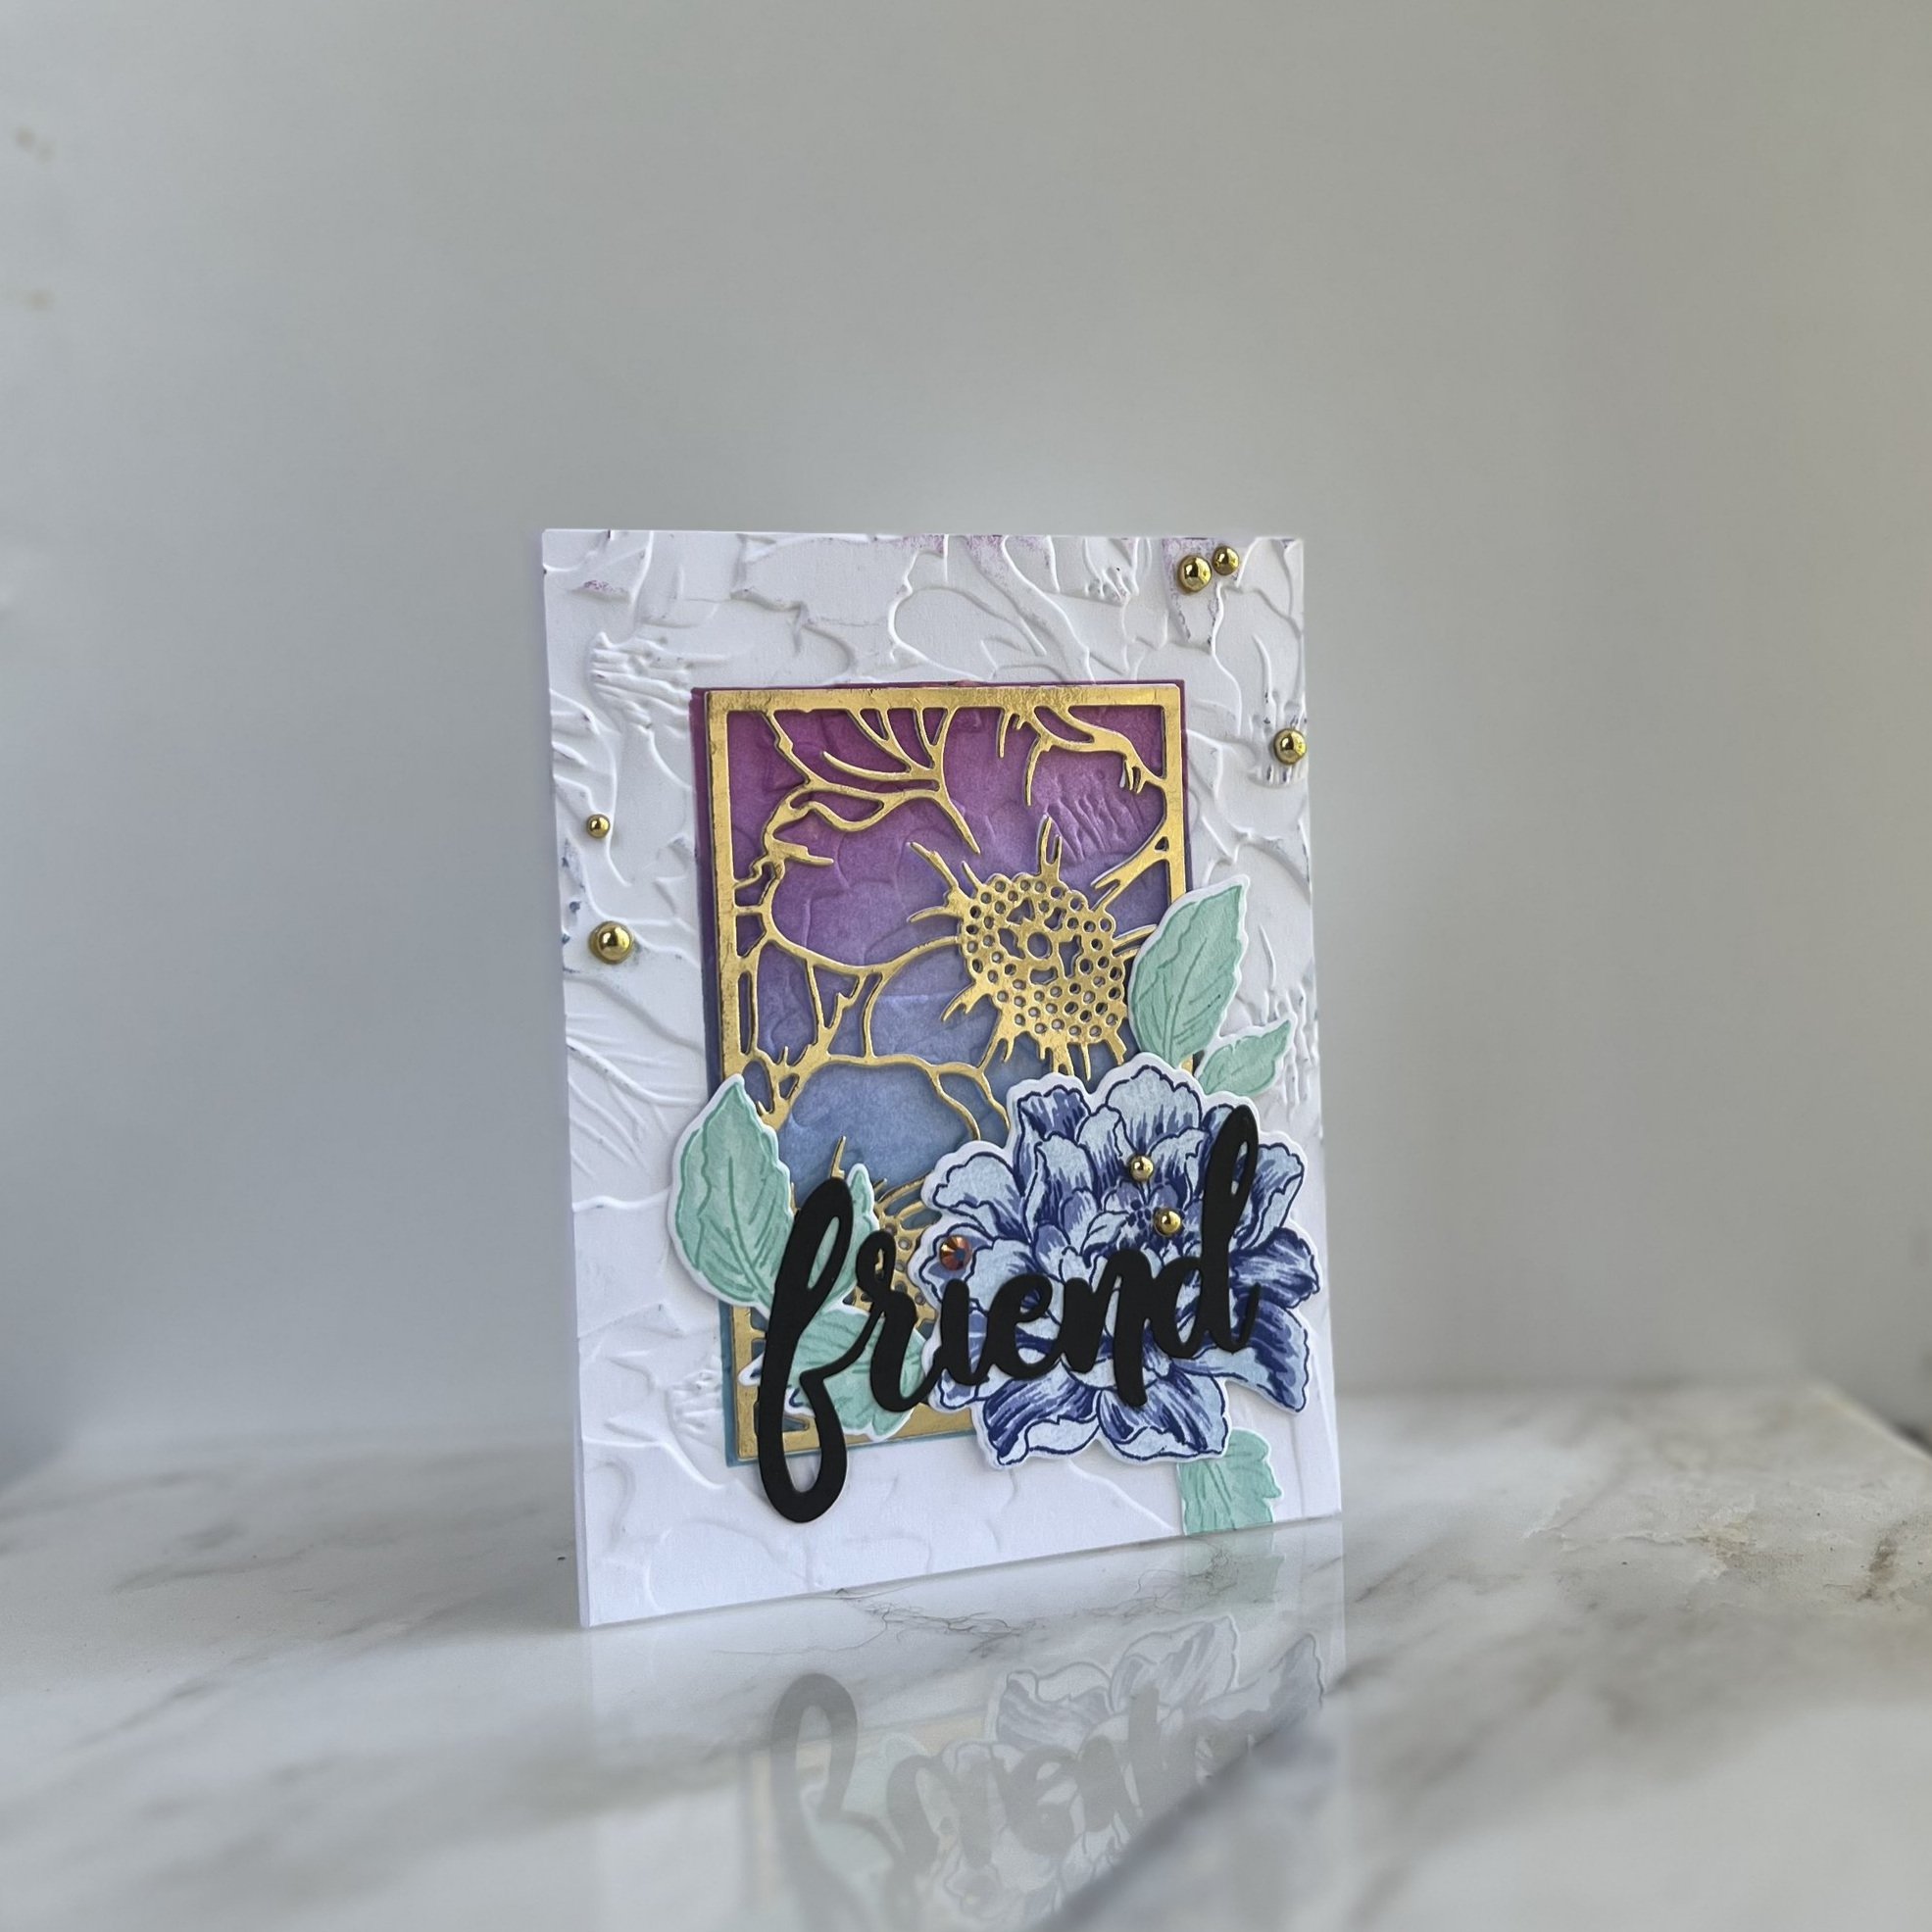
Masked off a rectangle in the center of a 110lb Neenah card stock panel measuring 4 1/4 x 5 1/2.
Ink blended a gradient of purple, periwinkle blue and sea blue with a moderate hand. Removed mask.
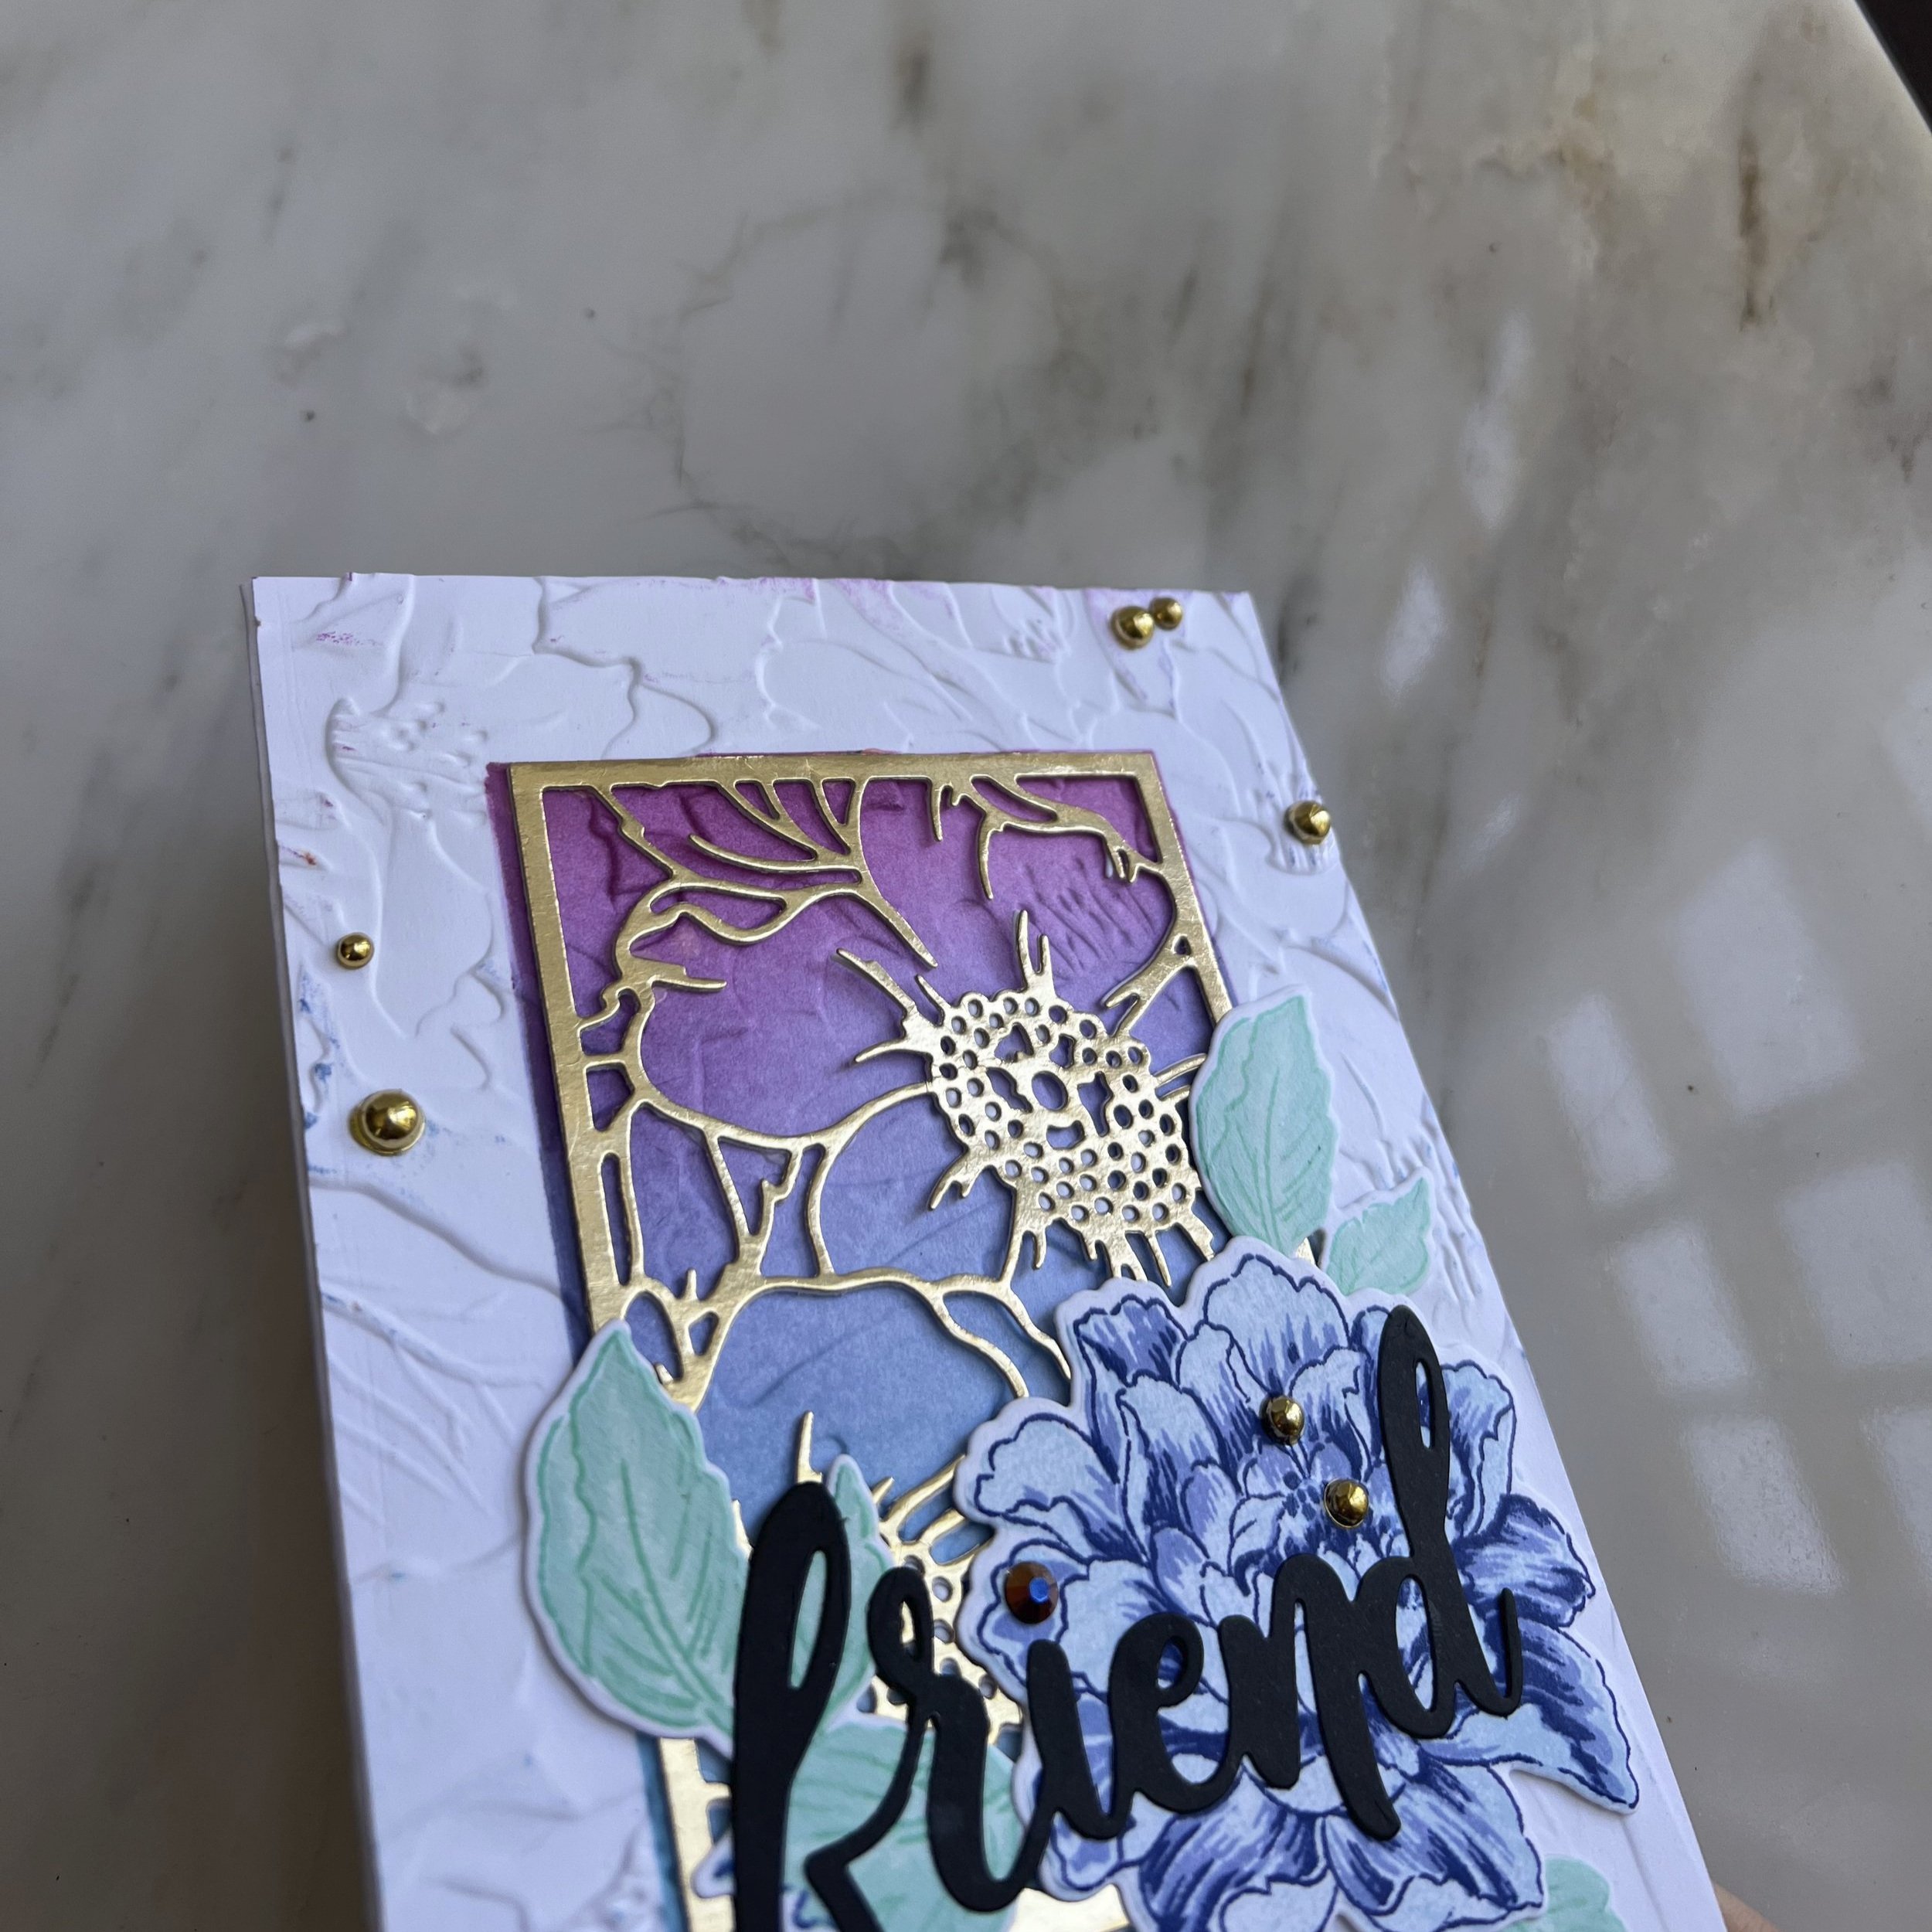
Ran this panel through my die cutting machine with the 3D embossing folder “upside down” so that the image would indent inward on my ink blending.
Put the mask back on over my ink blending, and did the same ink blending on the “raised” areas so that color did not go into the indented flowers/leaves. This gives us some color variation and dimension in our ink blending. Removed mask.
Die cut the top layer of the layering blossoms die set once out of white card stock and once out of gold foil card stock. I glued these together with tim holtz matte mixed media glue. I then glued our stacked die cut in the center of our inked area, so there was a thin frame of ink blending around the edge.
On a separate piece of 110lb Neenah solar white card stock, I stamped all the layers of the layering flower in three shades of blue and three shades of teal. I stamped the outline portion in the darkest colors so there wasn’t a harsh black line as that wasn’t the vibe I wanted for the card. (It also helps our sentiment stand out more).
I then die cut out the flower and two sets of leaves and arranged them on the bottom right corner of our gold flower outline.
I then die cut the word “friend” from black card stock and glued it over our flower. It gives a beautiful dramatic look as it’s the only black color on the whole card of soft colors.
I realized that my rectangle mask was not entirely clean when I did ink blending (oops) and so i had a few spots of ink on my white background. I couldn’t find my paper sander (perfect for stuff like this!) so I put some round gold gems in various places (and over my ink mistake). It doesn’t look perfect but I think it looks beautiful nonetheless!
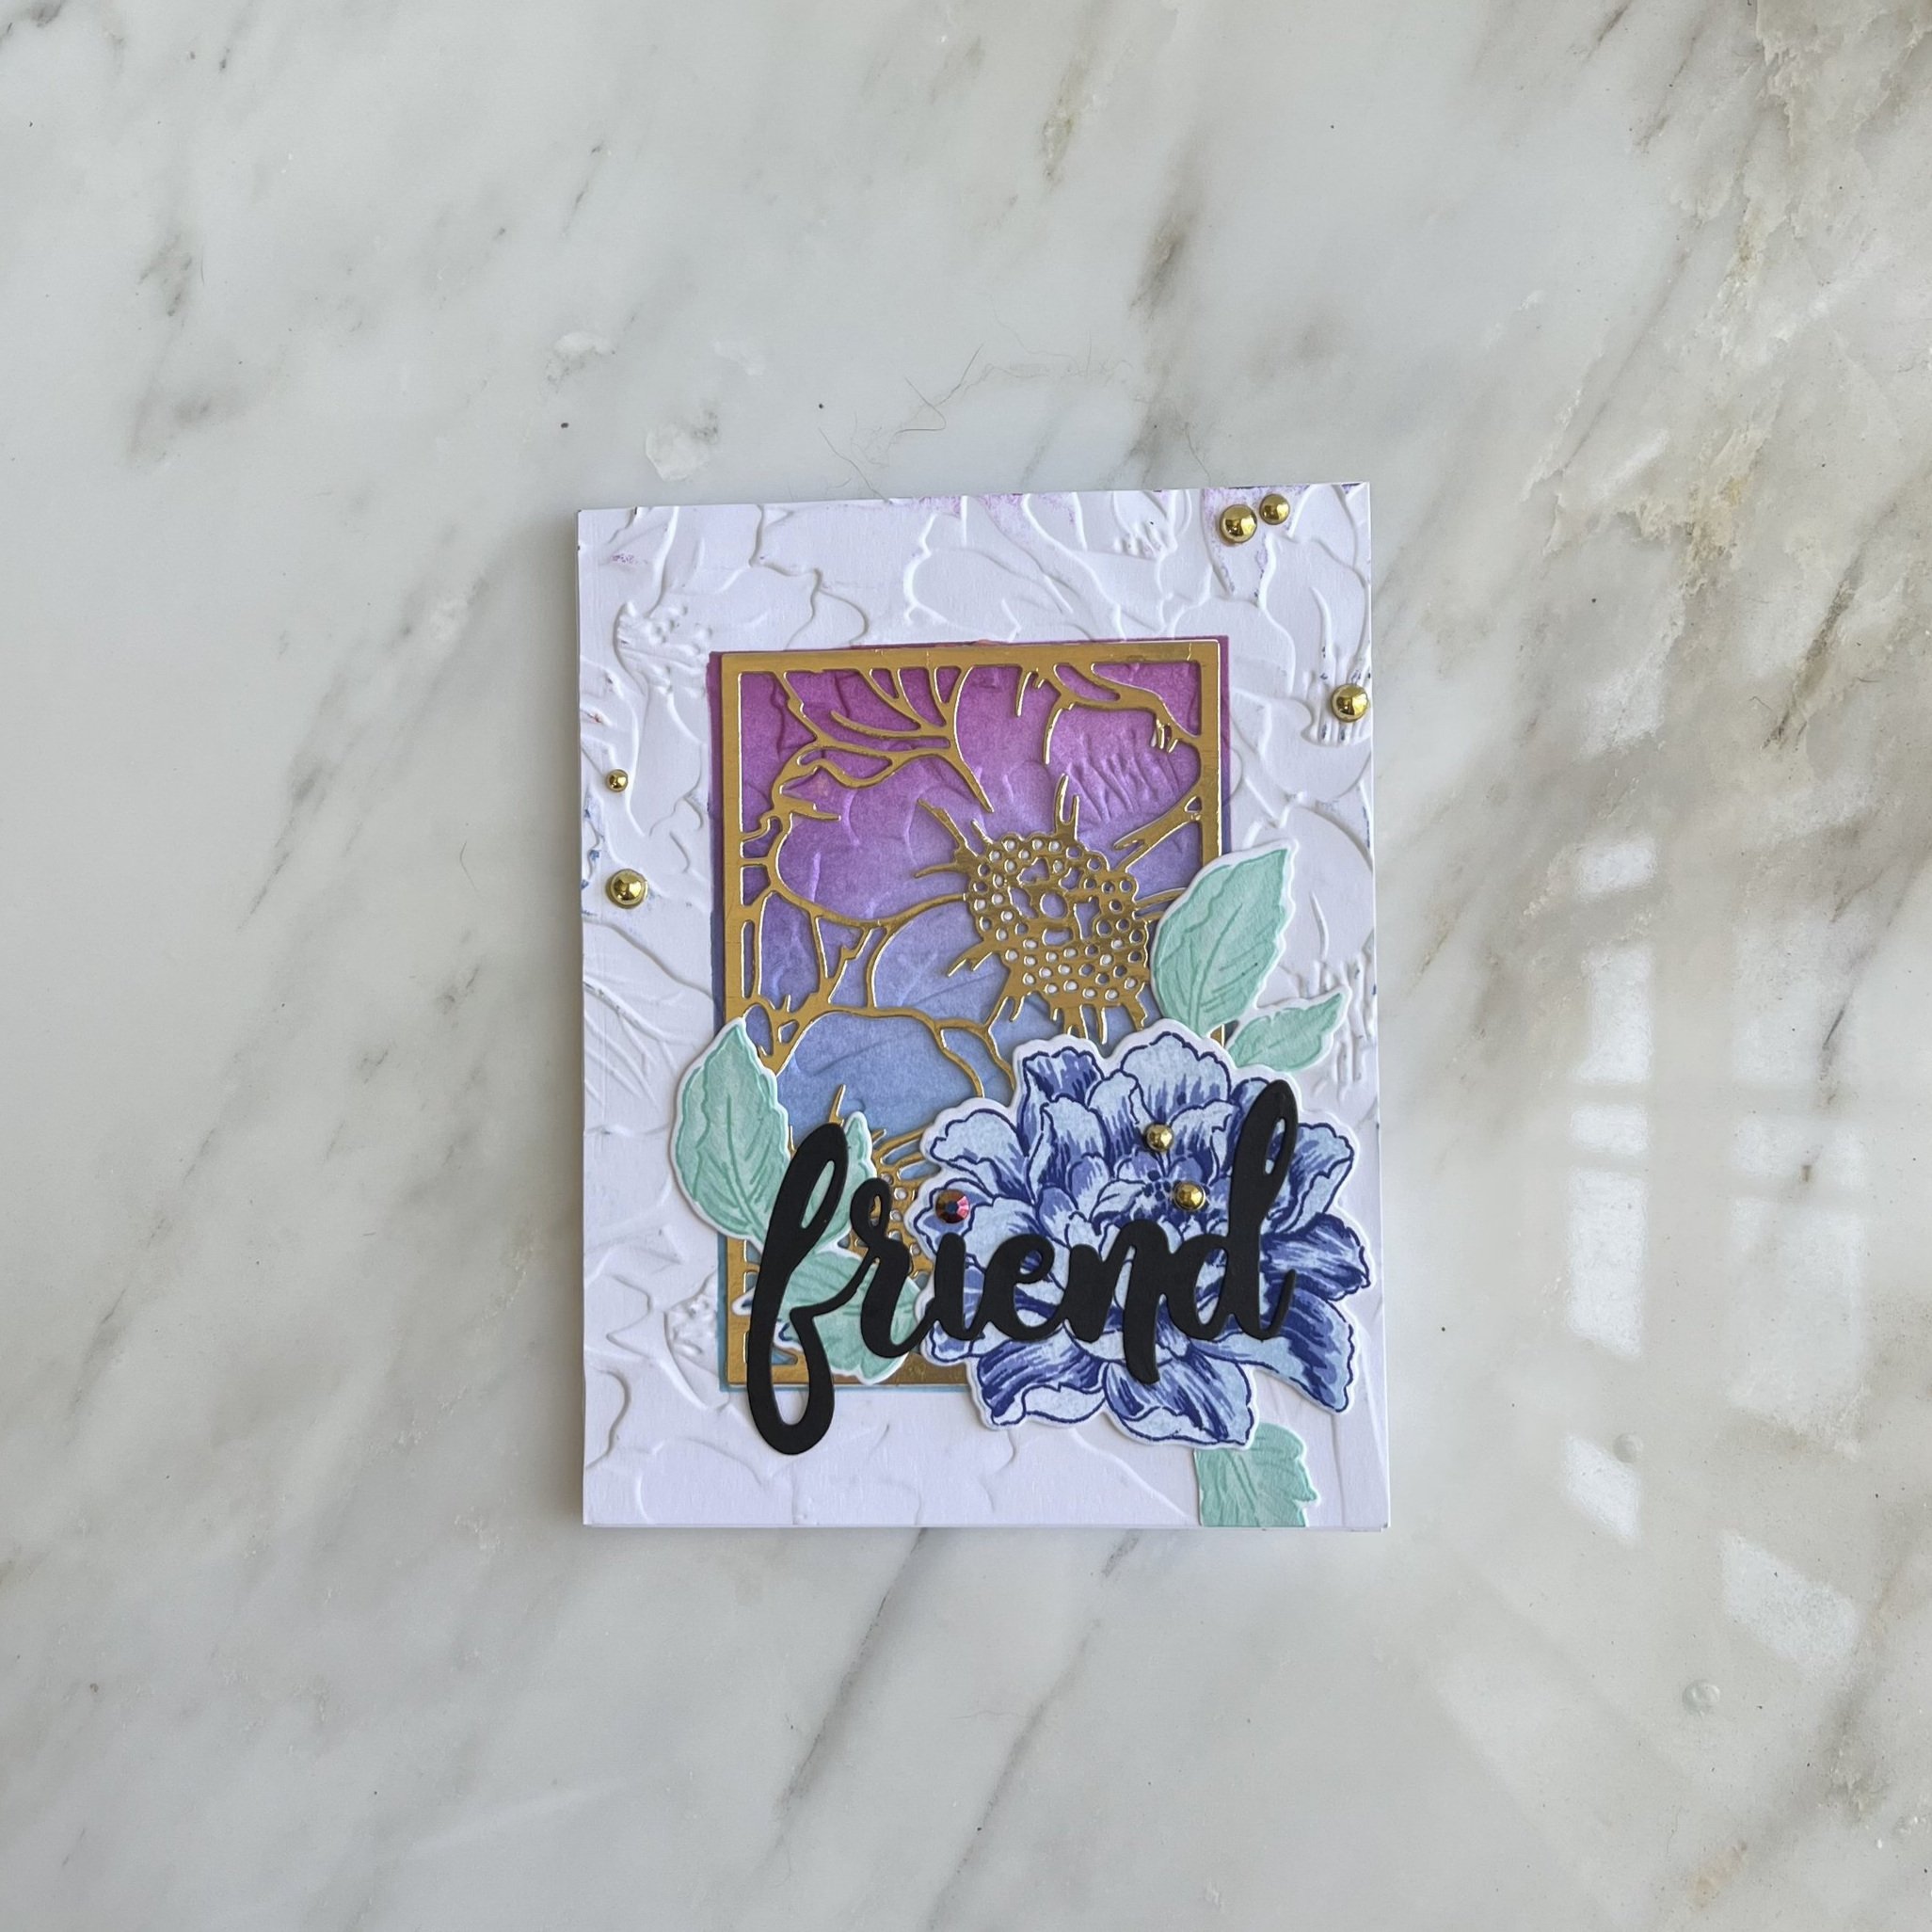
And with that our card is done! (after gluing it on a card base). I really loved this challenge and hope you can find some inspiration from my card! This was definitely a card I’m glad I didn’t give up on.
I will link my supplies below. Let me know if you have any questions or let me know what your favorite color palette is for a card! Thanks so much for stopping by, I hope you have a great day.

Supplies:
(No links are affiliate links, I purchased all product myself).
Simply Friend die - Altenew
background ink blending: Purple Wine - Altenew
background ink blending: Persian blue - Altenew
background ink blending: Aqualicious - Altenew
flower lightest blue: Carribean Sky - Altenew
flower medium blue: Persian Blue - Altenew
flower darkest blue: Sapphire - Altenew
leaves lightest teal: Mountain Mist - Altenew
leaves medium teal: Volcano Lake - Altenew
leaves darkest teal: Lagoon - Altenew
